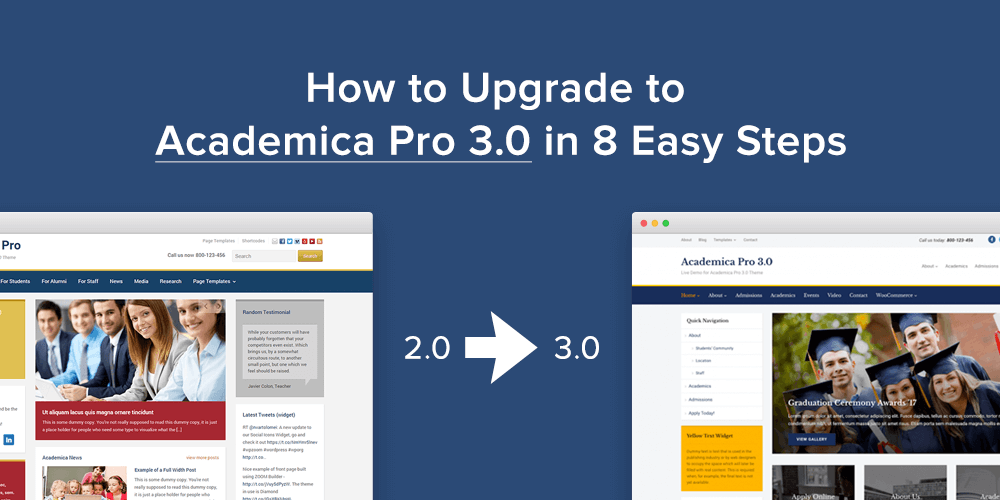
Academica Pro 3.0 was released just a few days ago, and if you’re thinking to upgrade from an older version, then you should read this tutorial until the end to make the process as easy as possible.
So, here are 8 things that you should check after installing the new version:
1. Regenerate Thumbnails
In order to make sure that all images look fine in different locations in the theme, like the slideshow or widgets, it’s recommended to regenerate all images from your site.

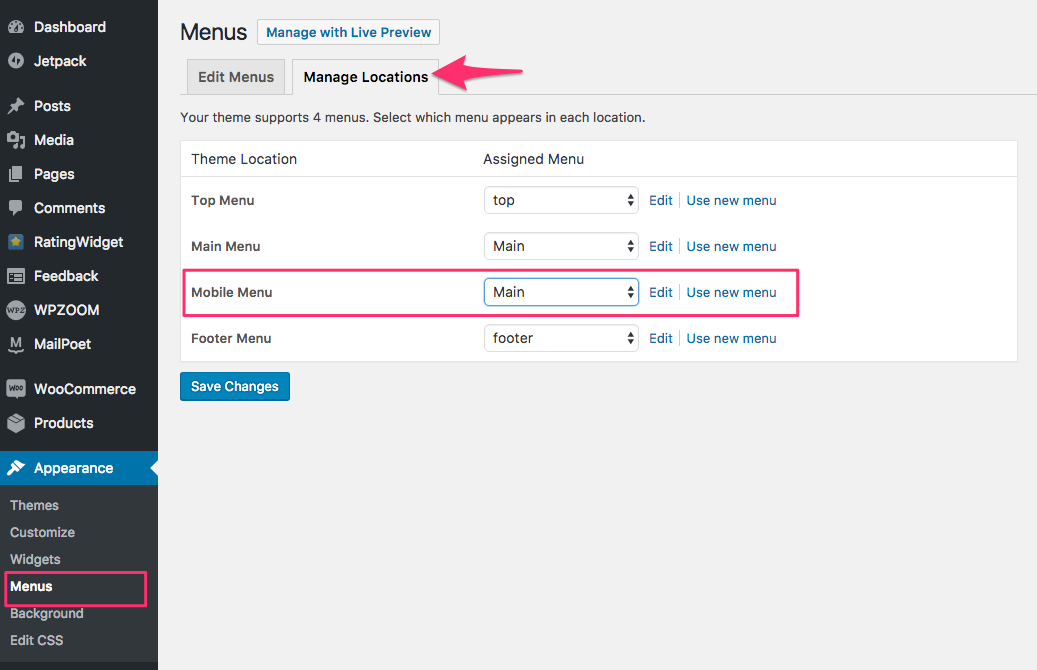
2. Check your Menus & set up the new Mobile Menu
While existing menus from the header and widgets will not be affected, it’s worth checking the Menus page and see if everything is configured properly.
The new 3.0 version allows you to create and display a different menu on mobile devices as your main menu. We’ve created a new menu location called Mobile Menu, and once a menu will be assigned to it, it will appear under the hamburger menu on mobile devices.

If no menu will be assigned in the Mobile Menu location, then your Main menu will appear on mobile devices automatically.
This feature is useful when you want to hide all menus on mobile devices and keep only the hamburger menu. In this way you can create a separate menu from your Main Menu and combine in it links from other menus that are not visible, or keep it with only a few menu links that should be enough for visitors from mobile devices.
From Theme Customizer > Header Options in version 3.0, you can configure the appearance of the Top Menu on desktop and mobile devices:

3. Add Social Icons in the Header
The Social Icons in the header now are added using our free & powerful Social Icons Widget.
Just make sure that you have installed the plugin, and add the widget in a special widgetized area named Header Social Icons on the Widgets page:

4. Choose what Homepage Slideshow Displays
Another useful feature introduced in version 3.0 is the support for Pages in the homepage slideshow. You can configure the slideshow to display pages from Theme Options > Homepage Slideshow:

Once you configured it to show Pages, make sure to edit a few pages or add new ones which you want to display in the Slideshow and enable the option which allows to include a specific page in the slideshow:

5. Change the Homepage Template
Default homepage template shows the slider above the middle and right sidebar, but this can be changed quickly by creating a new static page and set it as your Front Page.
Detailed instructions can be found in the Documentation.
6. Upload or Adjust your Logo Image
If you’ve previously had a custom logo image uploaded in the header, you’ll probably have to re-upload it from the Theme Customizer > Site Identity, because WordPress thinks that this is a different theme (due to the different folder name).

7. Enable Yoast Breadcrumbs
In order to display Breadcrumbs in all pages, install and activate the Yoast SEO plugin.
From plugin settings > Features tab, enable Advanced settings page. After that you’ll be able to enable the Breadcrumbs feature from the Advanced menu.
View more instruction here.

8. Read the Documentation
Once you’ve completed all the steps described above, we recommend you to take a look at the theme documentation and find other useful instructions to get the most of your new theme.
Here are some recommended instructions to check out:
Academica Pro 3.0 Documentation →
For more details about Academica Pro 3.0 check out the live demo and then consider purchasing Academica Pro 3.0 for your website.

June 22, 2017 7:18 pm
Hi Pavel Ciorici , I would like to saw thanks. You really write very easy way to Upgrade to Academica Pro 3.0. Now I can Upgrade easily.